Customer Support
WordPress Site Transfer to Managed WordPress Infrastructure
To transfer your WordPress site from another infrastructure to our Managed infrastructure, follow these steps:
Step 1 - Create a site backup
- Download all the files from the wp-content folder of your site to your local computer. You could do this by either creating a compressed (zip) file of the wp-content folder or by downloading the entire folder using the SFTP protocol.
- Additionally, download the wp-config.php file of your site locally.
- Export a backup (dump) of your site's MySQL database.
Step 2 - Transfer the backup
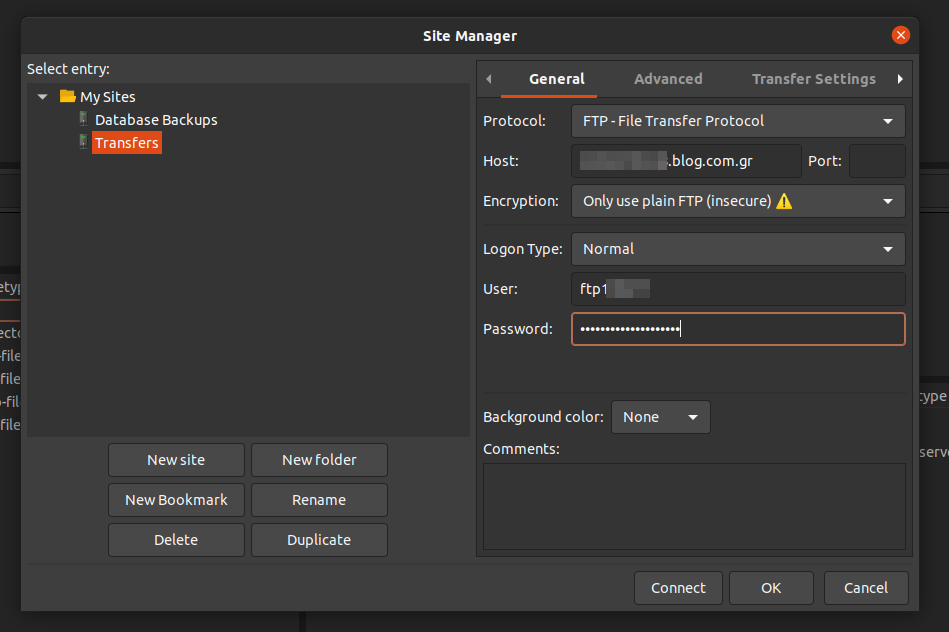
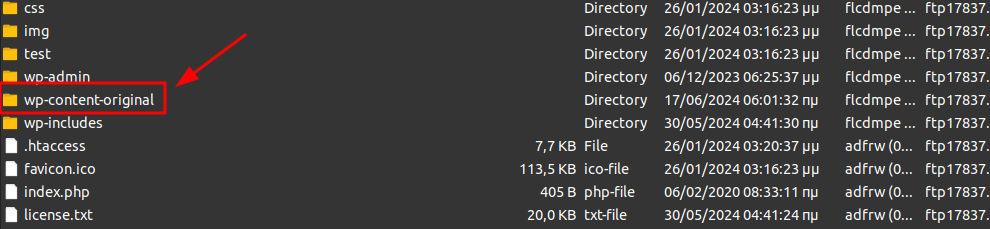
- Connect to our Managed infrastructure via FTP and rename the original "wp-content" folder to "wp-content-original".
- You will need to extract the wp-content zip file locally (if you downloaded the wp-content backup as a zip).
- Next, to transfer the "plugins" folder from "wp-content-original" to the "plugins" folder in the "wp-content" directory of your site, you need to:
- Download the "plugins" folder from the "wp-content-original" folder.
- Paste the "plugins" folder into the local "wp-content" folder of your site. Make sure not to transfer plugins that are common to both infrastructures.
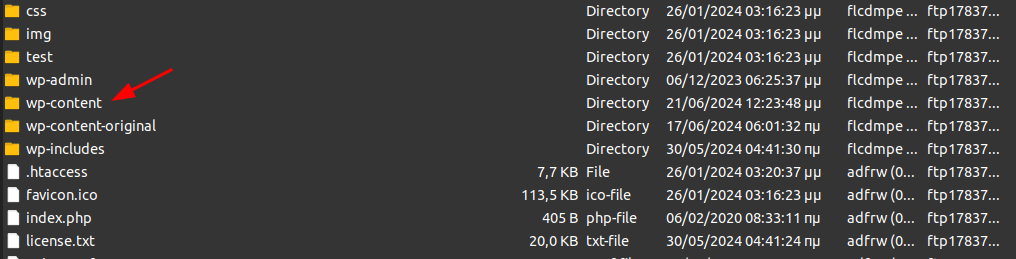
- Then, upload the backup of the "wp-content" folder, which already includes the plugins from the Managed infrastructure, via FTP.
Step 3 - Edit wp-config in the new infrastructure
- You will need to edit the wp-config file of the Managed installation via FTP by changing the "$table_prefix" based on what is in the wp-config file of your site.

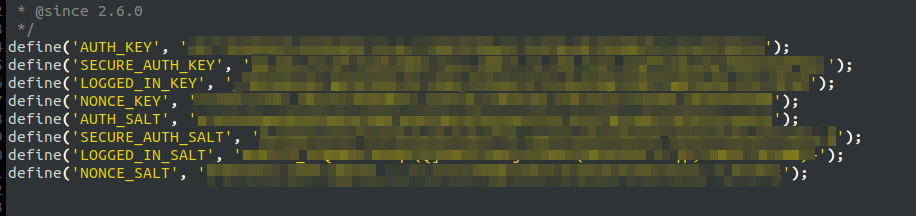
- Also, in the wp-config file of the new installation, replace the following entries with the corresponding ones from the wp-config file of your site.
Step 4 - Edit the site database
Using a text editor, open the database of your site that you have saved locally and replace all occurrences of “://yourdomain” & “://www.yourdomain” with “://xxxxxx.blog.com.gr” (i.e., replace your domain with the temporary URL of the Managed infrastructure). For example, you need to replace “://papaki.com” & “://www.papaki.com” with “://3329374514.blog.com.gr”.
Step 5 - Edit the database in the new infrastructure
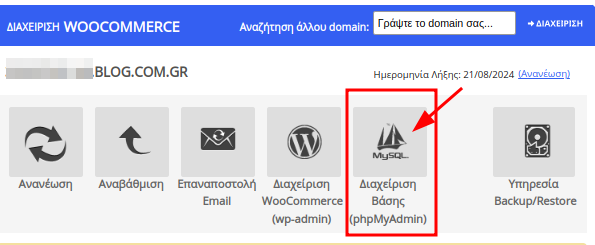
- Using the "Database Management (phpMyAdmin)" button in the Managed infrastructure, you will need to edit your database.
- Specifically, locate the “_wprc_public_key”, “_wprc_hash_key”, and “_wprc_auth_token” entries in the options table and copy them to your notepad.
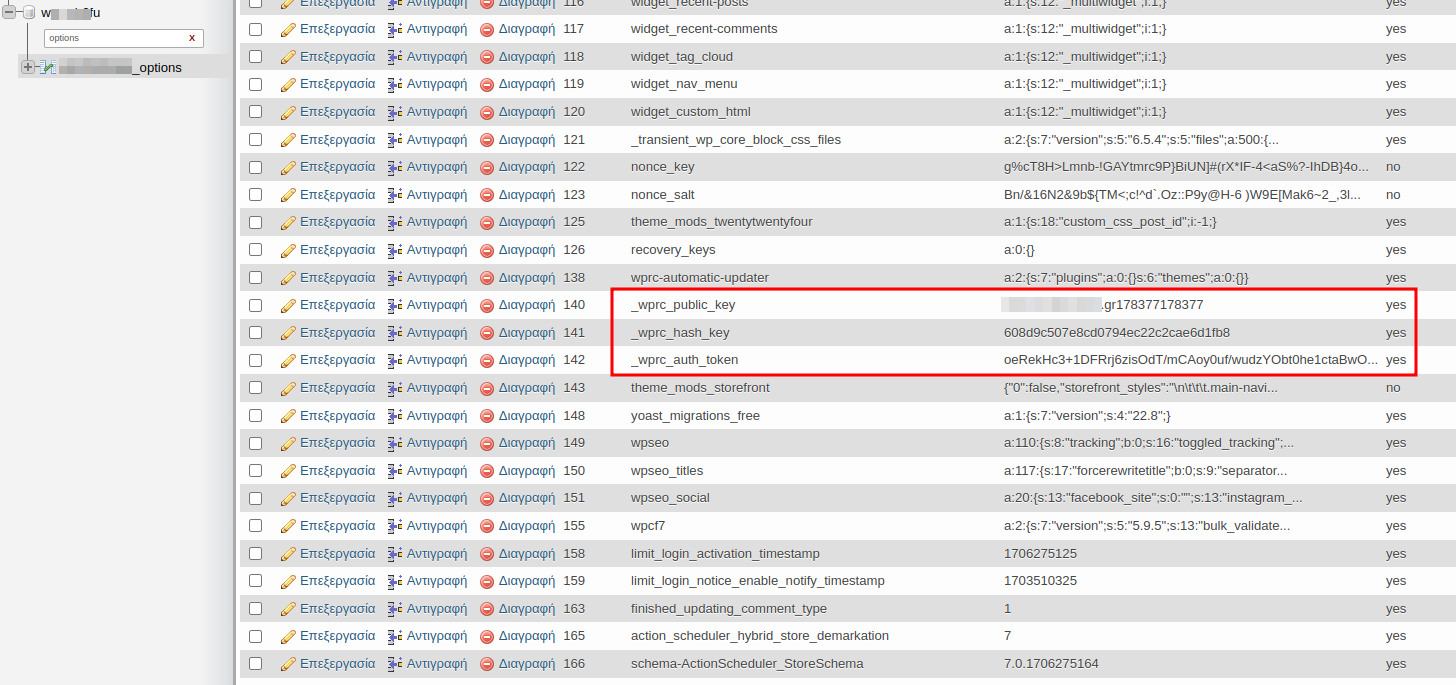
- After ensuring that you have correctly saved these three entries, delete the existing database on the server and upload the database you have saved locally for your site.
- Finally, after successfully importing your database, re-add the two entries you saved in the notepad.
Step 6 - Activate managed plugin in the new infrastructure
- Log in to the admin panel of your site on the new infrastructure using the credentials of an existing user from the URL http://xxxxxx.blog.com.gr/wp-login.php.
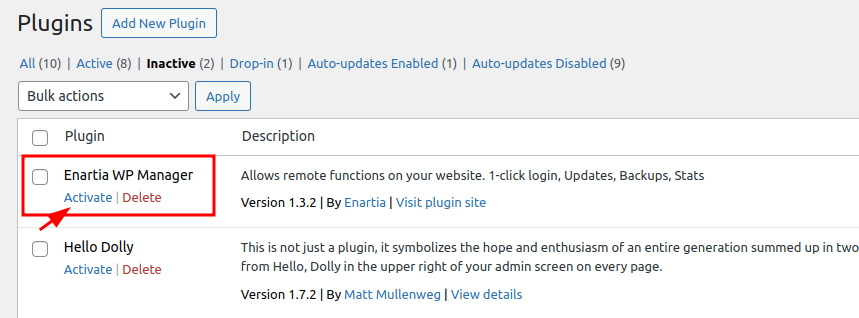
- Then, activate the “Enartia WP Manager” plugin
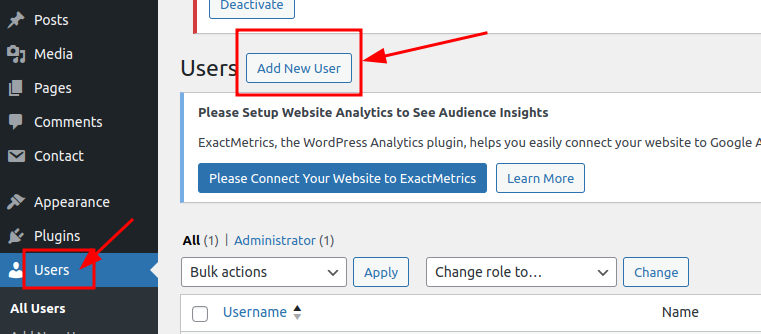
- Create a new user for your Managed hosting. An email with the subject “Managed WordPress Hosting Activation” has been sent to you with the details.
To link your domain with the Managed WordPress package, you can follow the instructions in the article here.
You haven't found what you are looking for?
Contact our experts, they will be happy to help!
Contact us